

Cooking dried beans might seem like one of those old-fashioned kitchen skills, but it’s actually one of the easiest ways to save money and make better-tasting meals. Sure, canned beans are convenient, but dried beans give you a creamier texture, better flavor, and cost just pennies per serving. Once you learn the basics, you’ll wonder why you didn’t start sooner.
Whether you’re making a big pot of chili, hearty soup, creamy refried beans, or adding them to salads and burrito bowls, this guide will walk you through everything you need to know. We’ll cover soaking, cooking times, seasoning, storage, and all the little tips that make cooking dried beans almost foolproof.
Why Cook Dried Beans?
If you’ve only ever reached for canned beans, here’s why dried beans are worth keeping in your pantry.
- Costs a fraction of canned beans.
- One of the cheapest protein options.
- Cook up with a creamier texture and better flavor than canned.
- Let you control the salt and seasonings from start to finish.
- Freeze quite well for easy meal prep.
- Stay fresh in the pantry for years so you can stock up.
Once you get into the habit of cooking a big batch, you’ll always have beans ready for quick lunches and easy dinners.
Choosing Your Beans
The good news is that almost all dried beans are cooked the same way. The biggest difference is how long they take to become tender.
Some of the most common varieties include:
- Black Beans
- Pinto Beans
- Kidney Beans
- Cannellini Beans
- Great Northern Beans
- Navy Beans
- Chickpeas (Garbanzo Beans)
- Lima Beans
When you’re shopping, look for beans that are similar in size with very few broken pieces. If they’ve been sitting in your pantry for several years, they’ll still be safe to eat, but they may take quite a bit longer to cook.
Don’t Skip Sorting!
Before you start cooking, pour your beans onto a baking sheet or large plate and give them a quick look.
You’re checking for:
- Small rocks (yes, they occasionally sneak in!)
- Dirt or other debris
- Broken or shriveled beans
After that, give them a good rinse under cool running water.
It only takes a minute, but it’s one of those little steps you’ll be glad you didn’t skip.
Do You Really Have to Soak Beans?
Short answer? Nope.
Long answer? Soaking has some pretty nice benefits.
Soaking helps:
- Shorten the cooking time.
- Cook the beans more evenly.
- Give them a creamier texture.
- Reduce some of the natural compounds that can cause digestive discomfort for some people.

Overnight Soak
This is our favorite method.
Cover the beans with several inches of cold water and let them soak for 8 to 12 hours, or overnight.
Drain and rinse the beans before cooking.
Quick Soak
Forgot to soak them overnight? We’ve all been there.
Just cover the beans with water, bring everything to a boil for 2 minutes, then turn off the heat. Cover the pot and let the beans sit for 1 hour before draining and rinsing.
It’s not quite the same as an overnight soak, but it gets the job done.
No Soak?
It can absolutely be done!
Just plan on cooking the beans a little longer. Depending on the variety, they may need anywhere from 30 to 60 extra minutes.
How to Cook Dried Beans
Cooking dried beans is mostly a waiting game.
- Add the soaked beans to a large pot.
- Cover with fresh water by about 2 inches.
- Bring everything to a boil.
- Reduce the heat until the water is just gently bubbling.
- Partially cover the pot with a lid.
- Let the beans simmer until tender.
Check on them every so often and add more hot water if the beans start poking above the surface.
One thing you don’t want is a rolling boil. Beans cook best with a gentle simmer. A hard boil can cause the skins to split before the centers have time to soften.
How Long Do Beans Take to Cook?
Every pot of beans is a little different, so think of these as estimates rather than exact times.
| Bean | Soaked | Unsoaked |
|---|---|---|
| Black Beans | 60 to 90 minutes | 90 to 120 minutes |
| Pinto Beans | 60 to 90 minutes | 90 to 120 minutes |
| Navy Beans | 60 to 90 minutes | 90 to 120 minutes |
| Great Northern Beans | 60 to 90 minutes | 90 to 120 minutes |
| Cannellini Beans | 60 to 90 minutes | 90 to 120 minutes |
| Kidney Beans | 90 to 120 minutes | 2 to 2½ hours |
| Chickpeas | 90 to 120 minutes | 2½ to 3 hours |
Older beans take longer to soften. Living at a higher elevation can add cooking time too. Even the minerals in your tap water can make a difference, so don’t be surprised if your beans take a little longer than expected.
When Should You Add Salt?
For years, people believed salt made beans tough.
Turns out, that’s one of those kitchen myths that just won’t go away.
Go ahead and salt your cooking water. It actually helps season the beans all the way through and can even help them cook more evenly.
A teaspoon or so of kosher salt per pound of dried beans is a great place to start.
Add Flavor While They Cook
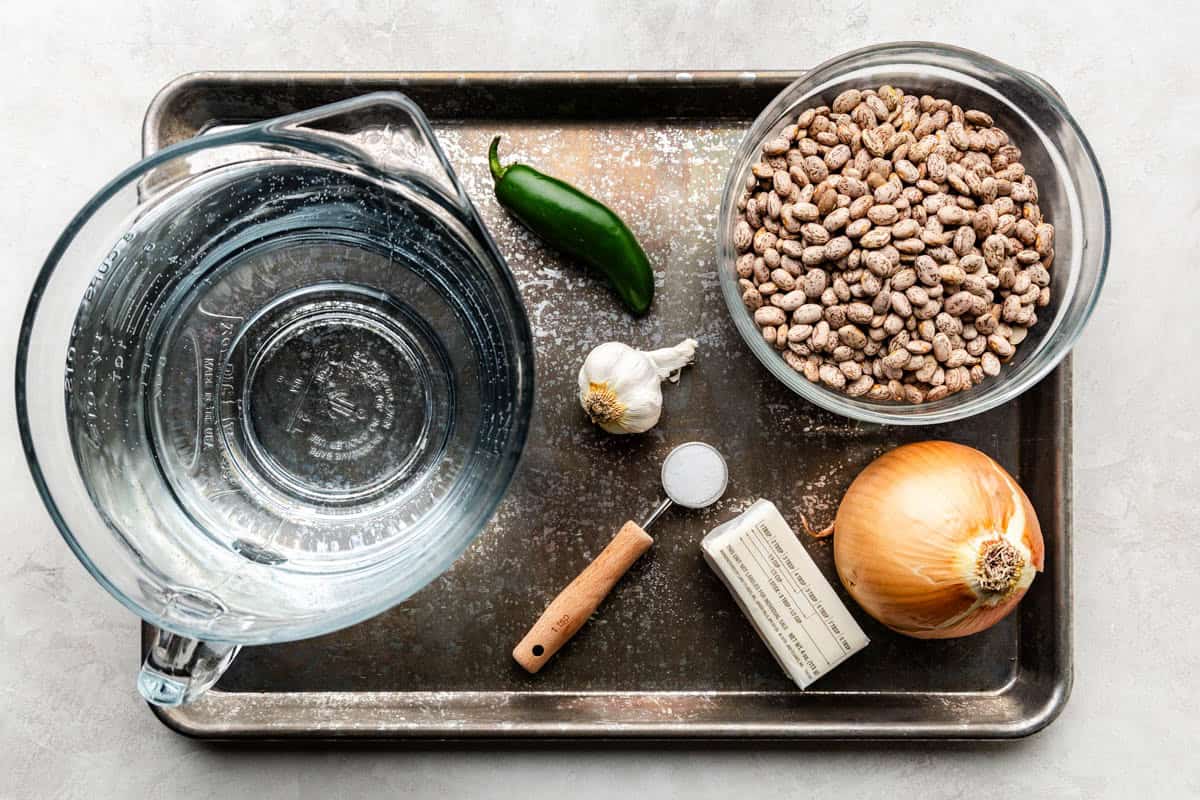
Beans soak up all the flavors they’re cooked with, so this is the perfect time to toss in aromatics, which is just a fancy way of saying ingredients that smell and taste amazing.
Some favorites include:
- Onion
- Garlic
- Bay leaves
- Fresh thyme
- Rosemary
- Black peppercorns
- Parmesan rind
- Smoked ham hock
- Bacon

Hold off on tomatoes, vinegar, lemon juice, or anything acidic until the beans are tender. Acid makes it harder for beans to soften, so adding it too early can leave you waiting a lot longer for dinner.
Lid On or Off?
A little bit of both.
Put the lid on, but leave it cracked just a little. That lets some steam escape while keeping enough heat in the pot so everything cooks evenly.

Slow Cooker Instructions
Your slow cooker is a great option if you want to let the beans cook while you go about your day.
After soaking, add the beans to your slow cooker with fresh water.
Cook:
- Low for 6 to 8 hours
- High for 3 to 5 hours
One important exception is kidney beans. They should always be boiled on the stovetop for at least 10 minutes before going into a slow cooker. That quick boil destroys a naturally occurring toxin found in raw kidney beans.
Pressure Cooker Instructions
If you’re in a hurry, the pressure cooker is hard to beat.
Most soaked beans cook in about 8 to 15 minutes at high pressure, depending on the variety. Let the pressure release naturally for the best texture.
How Do You Know They’re Done?
The easiest way?
Eat one.
A perfectly cooked bean should be creamy all the way through with no chalky center. If it’s still a little firm, keep simmering and check again in another 10 to 15 minutes.
Troubleshooting and FAQ
Don’t panic.
Old beans, hard water, and simply not cooking them long enough are the biggest reasons beans stay firm. Just keep simmering and add more water if needed.
Your heat was probably a little too high.
Next time, lower the heat so the water stays at a gentle simmer instead of a full boil.
It happens!
They’re still perfect for soups, bean dips, refried beans, or anywhere a creamy texture works in your favor.
One pound of dried beans makes about 6 cups of cooked beans.
Absolutely. One 15-ounce can of beans is about 1½ cups of cooked beans.
Usually it’s because the beans are old, the water is hard, or acidic ingredients were added too soon.
Yes! A one-pound bag often costs about the same as one or two cans but makes the equivalent of three to four cans of cooked beans.
Kidney Beans Warning
Kidney beans are a little different from other dried beans. Raw kidney beans contain a naturally occurring protein called phytohaemagglutinin, which can make you sick if the beans aren’t cooked properly. The good news is that it’s easy to make them safe.
After soaking, always boil kidney beans vigorously for at least 10 minutes before reducing them to a simmer or transferring them to a slow cooker. That quick boil destroys the toxin.
Never cook raw kidney beans in a slow cooker from start to finish. Slow cookers don’t always get hot enough quickly enough to destroy the toxin, which can actually leave the beans more dangerous than if they were raw. Once the beans have been boiled for 10 minutes, you can safely finish cooking them on the stovetop or transfer them to a slow cooker until they’re tender.
Canned kidney beans have already been fully cooked, so they’re ready to use straight from the can after draining and rinsing.
Storage Instructions
Refrigerate: Store cooked beans along with a little of their cooking liquid in an airtight container for up to 5 days.
Freeze: Divide beans into meal-sized portions with a little cooking liquid and freeze for up to 6 months.
Reheat: Warm them gently on the stovetop or in the microwave. If they seem a little dry, just stir in a little bit of water or broth.
Favorite Bean Recipes
Final Tips
Cooking dried beans isn’t difficult. It just takes a little patience. Once you’ve made a pot or two, you’ll get a feel for how they cook and you’ll probably stop buying canned beans quite so often.
Make a big batch, freeze the extras, and you’ll always have one of the most versatile ingredients in your kitchen ready to go for soups, salads, tacos, casseroles, grain bowls, and easy weeknight dinners.